Best Laser Level for Electrical Box and Outlet Layout
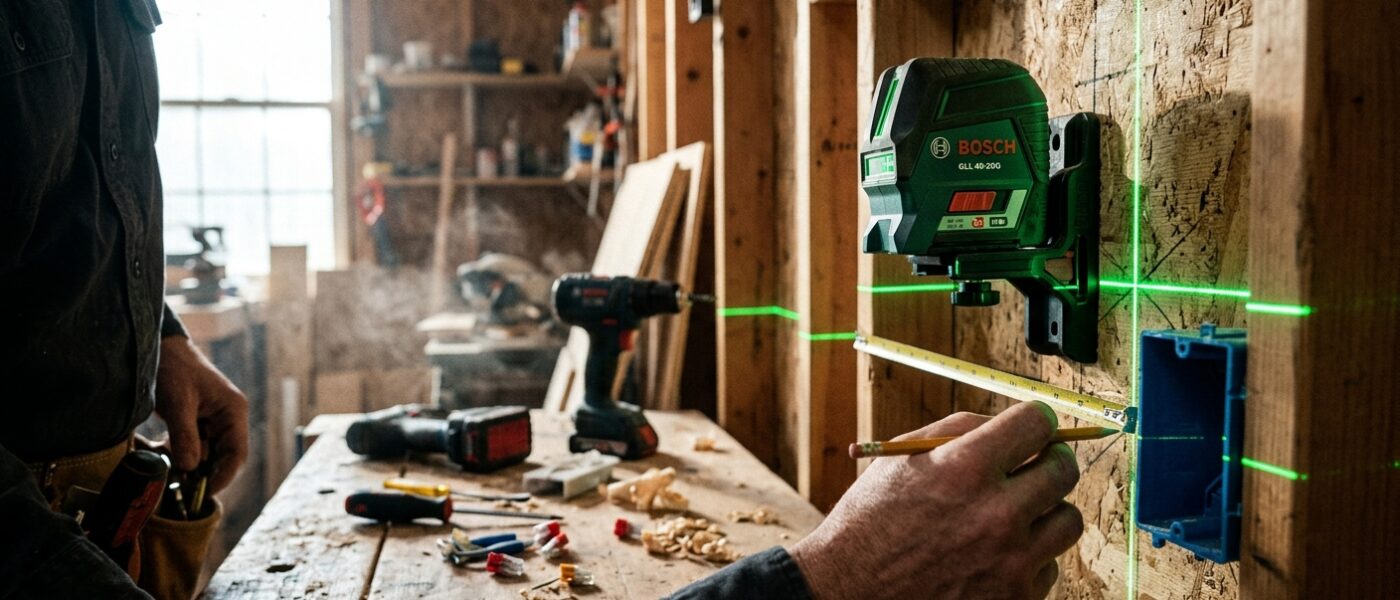
The Bosch GLL 40-20G green cross-line laser is the practical pick for electrical layout — bright beam, fast self-leveling, and magnetic mounting make outlet rough-in fast and accurate across the whole room.
As an Amazon Associate, we earn from qualifying purchases.
Perfect Outlet and Switch Heights Every Time
Electrical boxes that aren’t level or aren’t at consistent heights are immediately visible after the cover plates go on – and fixing misaligned boxes after drywall is installed means opening walls. A laser level during rough-in eliminates this problem entirely, projecting a perfectly level reference line across a room in seconds so you can mark and mount every box at the same height without measuring from the floor repeatedly. It’s also the right tool for lighting layout, panel placement, and running conduit runs along a wall at consistent height.
Key Features to Look For
- Self-leveling capability: Self-leveling laser levels automatically compensate for minor out-of-level tripod placement within a tolerance range (typically plus or minus 4 degrees). This eliminates manual bubble-vial leveling for every setup – set the laser, wait two seconds for leveling, start marking. For electrical rough-in work, self-leveling is a strong preference over manual leveling.
- Line type: A single horizontal line level is sufficient for outlet layout. Cross-line lasers (horizontal and vertical simultaneously) add versatility for panel layout, lighting column alignment, and installing surface conduit runs perfectly plumb. Most professional electricians prefer cross-line for the added versatility at minimal cost difference.
- Visibility range: Standard green lasers are visible at 30-50 feet in normal interior lighting – sufficient for room-width layout. Red lasers are visible at shorter ranges (20-30 feet) and less expensive. For whole-room or large commercial space layout, green laser or a laser detector accessory extends usable range.
- Mounting options: A magnetic bracket or clamp mount lets you attach the laser to a stud or metal bracket for hands-free operation. Tripod-mounted lasers are more stable but require setup time. For electrical rough-in where you’re moving frequently, a magnetic clamp mount is more practical than a tripod.
- Out-of-level indicator: If the laser is placed outside its self-leveling range, the beam should blink or go off – warning you not to use an unlevel line for measurements. Lasers that silently project an unlevel line are dangerous for layout work.
Top Picks
Bosch GLL 40-20G Green-Beam Cross-Line Laser Level
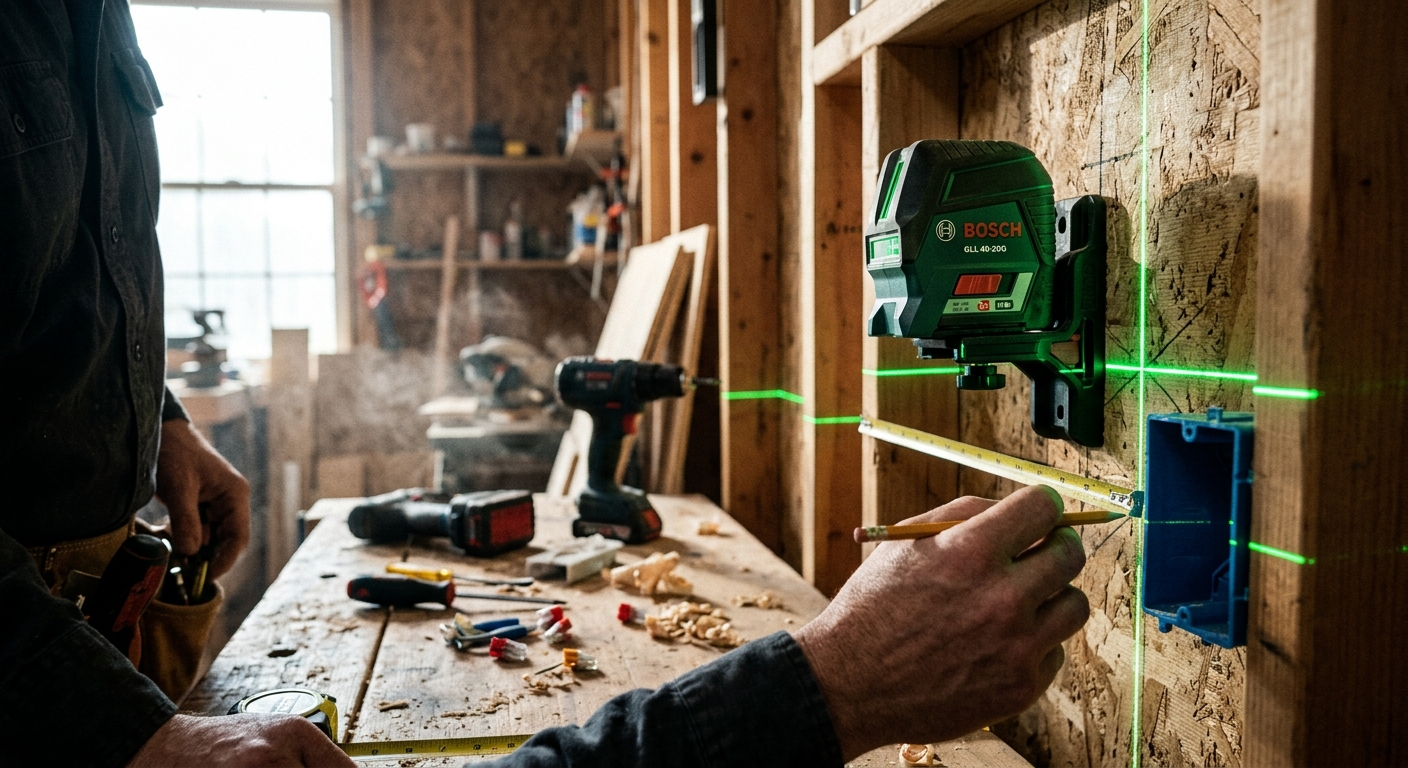
Bosch’s cross-line laser with green beam produces bright, visible lines across a full room in ambient light conditions. The self-leveling mechanism settles in under 4 seconds and the out-of-level indicator blinks when outside the 4-degree leveling range. The magnetic ceiling mount allows hands-free operation while marking box locations – a critical workflow advantage during electrical rough-in. This is the laser that residential electricians typically own for layout work.
DeWalt DW088K Cross Line Laser Level
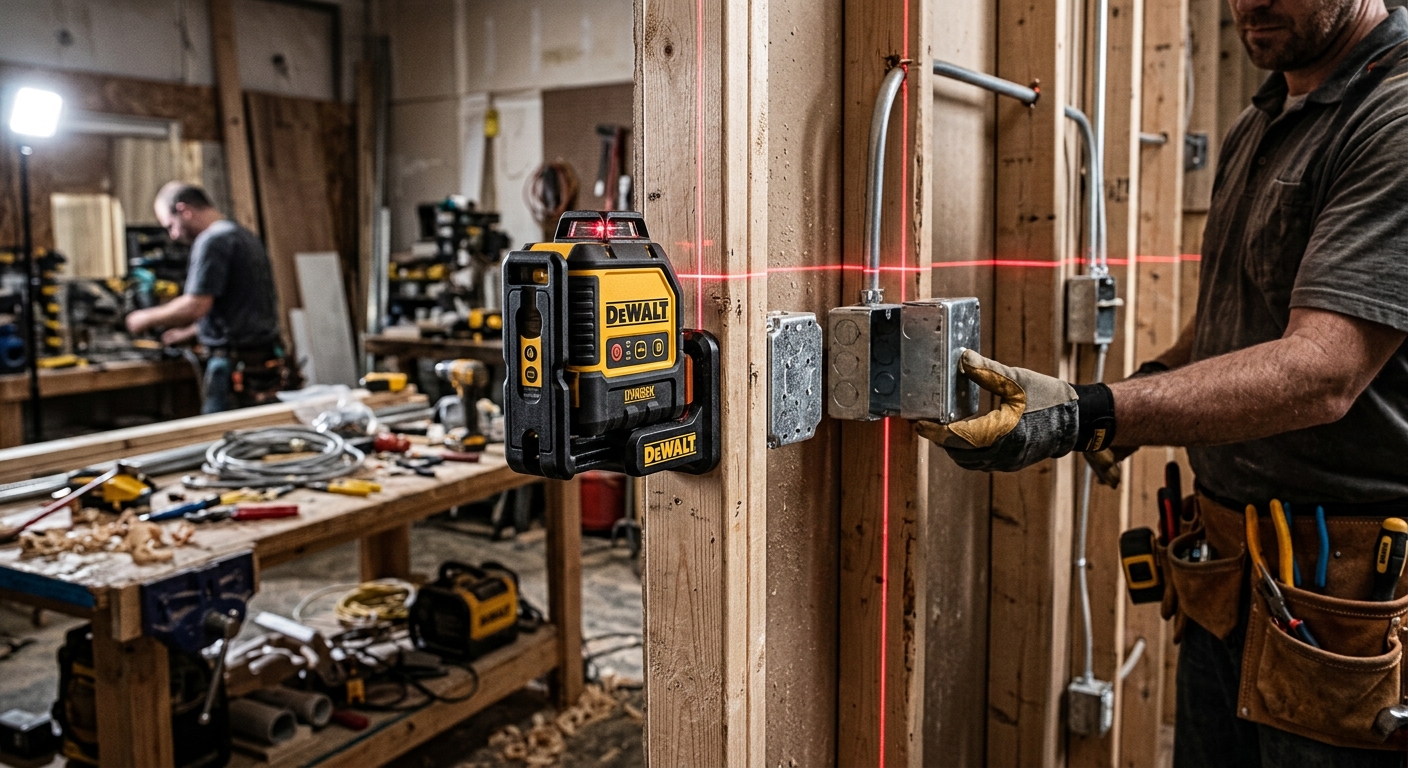
DeWalt’s DW088K is a reliable cross-line red laser with self-leveling at a mid-range price point. The red beam is adequate for interior use in rooms without strong window light. The rotating head allows projecting just the vertical or just the horizontal line independently – useful when you want a vertical reference for conduit plumb without the horizontal line interfering with other layout marks. A dependable workhorse that handles the full range of electrical layout tasks.
Huepar 903CG Green Cross Line Laser
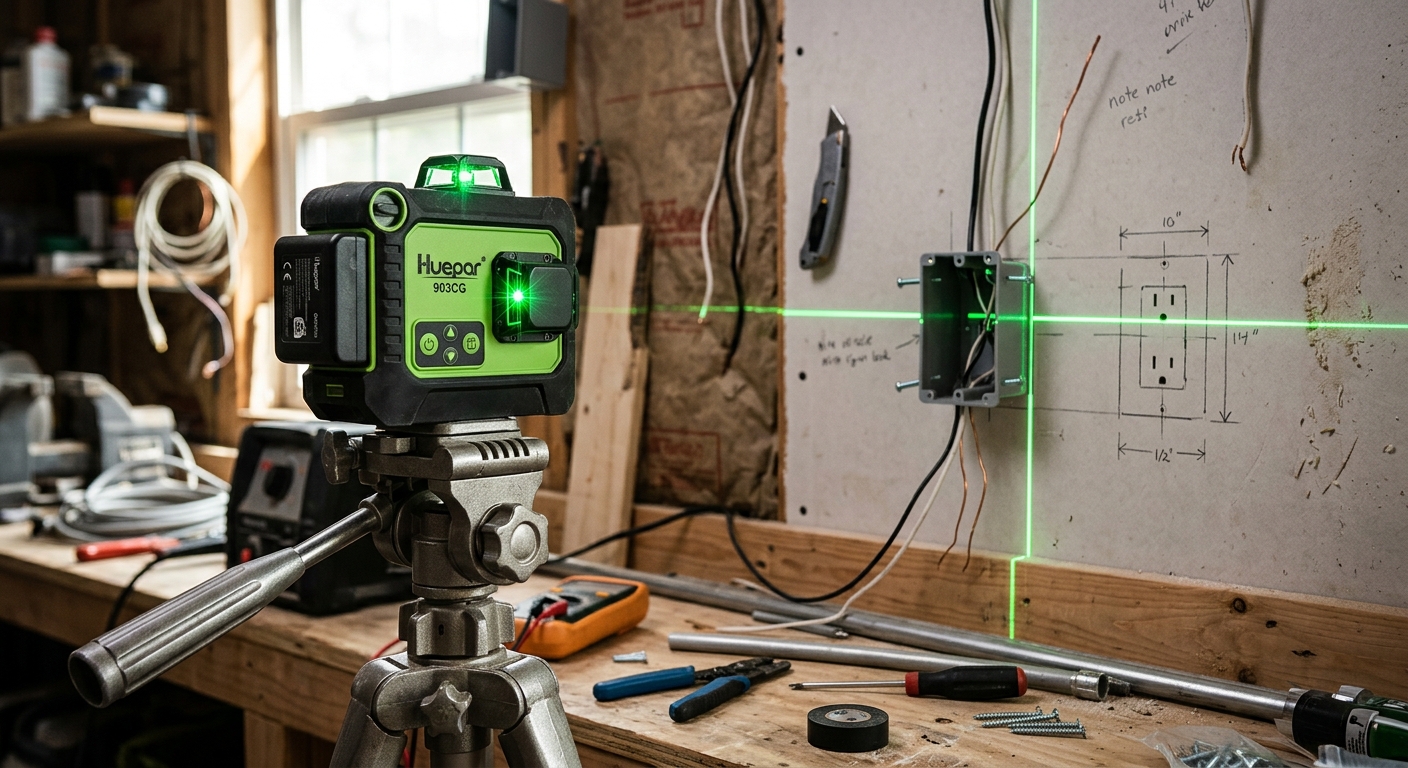
Huepar’s 360-degree green laser projects a full horizontal plane (not just a line segment) – meaning the reference line wraps around the entire room without rotating the unit. For outlet layout in rooms with multiple walls, this eliminates repositioning the laser. Excellent value for a 360-degree green laser, though the unit size is slightly larger than single-plane competitors. The included magnetic bracket and soft case add practical value for field use.
Johnson Level 40-6609 Laser Level Kit with Detector
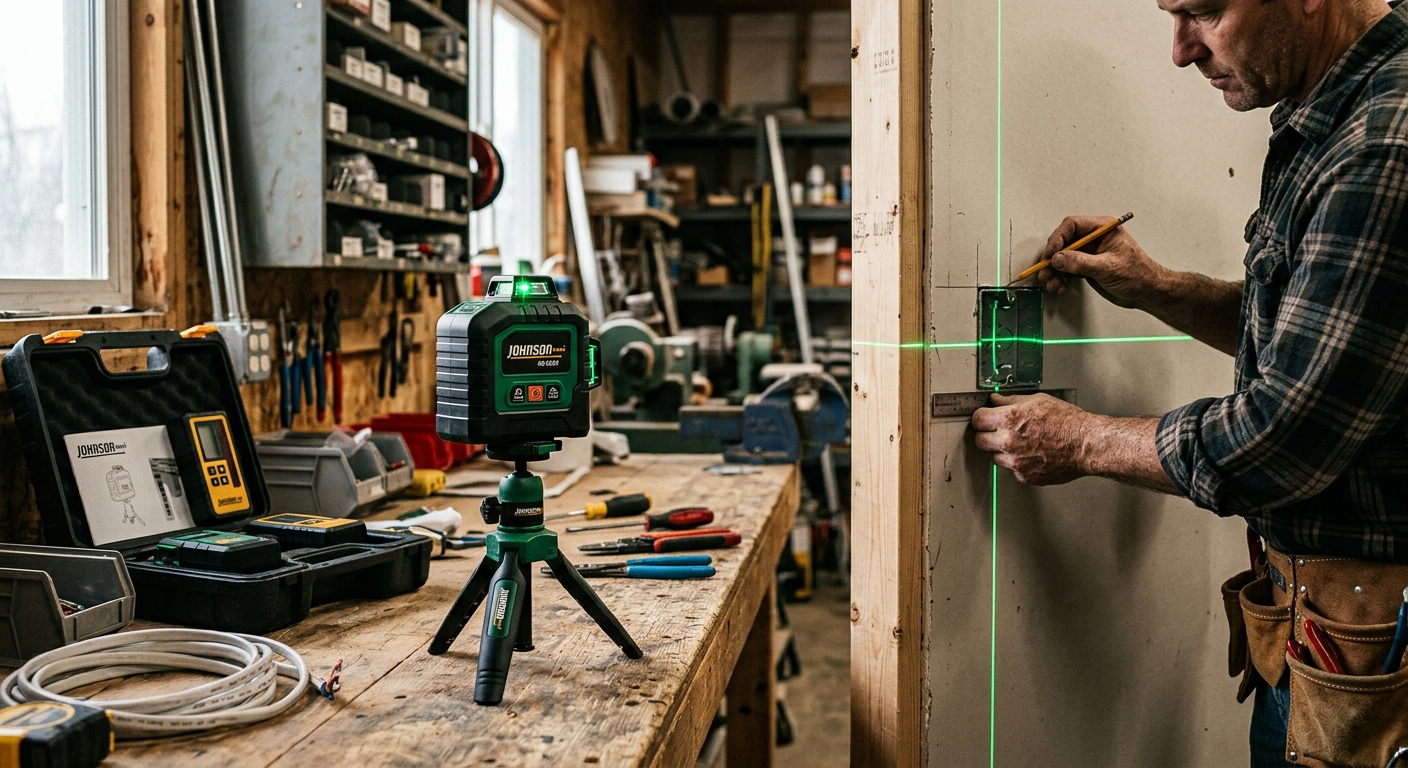
Johnson’s kit includes a red cross-line laser plus a handheld laser detector that extends the visible range outdoors and in bright conditions. The detector beeps and indicates the laser position on a scale, allowing outdoor electrical conduit and panel placement even in sunlight where the beam is invisible to the naked eye. A complete kit for electricians who work both interior and exterior projects.
Frequently Asked Questions
What height should electrical outlets be mounted at?
NEC does not specify a required outlet height – it’s a matter of local convention and preference. The residential standard is 12-18 inches from the finished floor to the bottom of the box (most often 12″ for standard outlet placement, 18″ in kitchens with 4-inch lower cabinets). Light switches are typically 48″ from finished floor to center of box. Pick your height, set the laser line, and mark all boxes from that single reference – consistency is what matters visually.
Can I use a laser level for ceiling light box layout?
Yes – particularly useful for recessed lighting layout where you want fixtures in a precise grid. Set the laser to project vertical lines at your desired spacing and use them as reference for marking ceiling penetration locations. Cross-line lasers that project both planes simultaneously are most efficient for this application.
How do I use a laser level to run conduit plumb up a wall?
Set the laser to project a vertical line and position it on the wall surface. The vertical line gives you the plumb reference for marking conduit support locations – every conduit clip goes directly on the vertical laser line. For surface-mounted EMT conduit on a concrete or CMU wall, this method produces perfectly plumb runs that look professional without a long spirit level on every section.
Affiliate Disclosure: DIY Arsenal participates in the Amazon Associates Program and other affiliate programs. When you purchase through links on this site, we may earn a small commission at no additional cost to you. We only recommend products we have personally tested and genuinely believe in.