Best Speed Squares – Framing, Rafter Cuts, and Layout
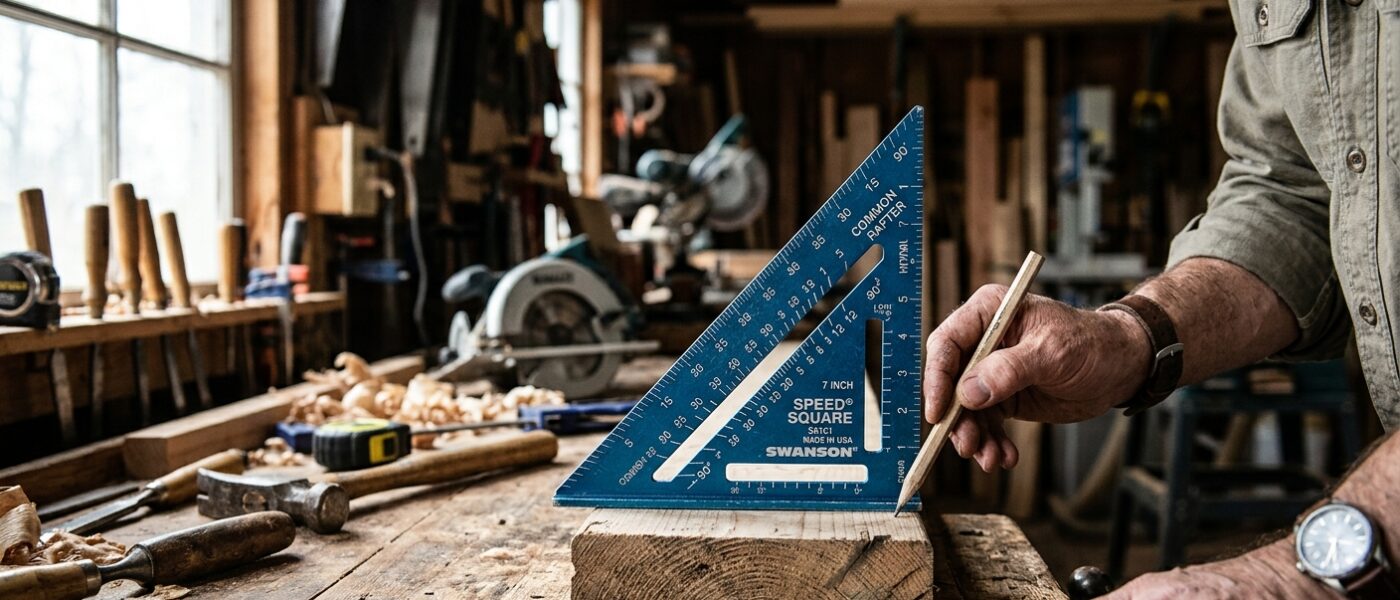
The Swanson S0101 is the definitive speed square — buy it first and you likely will never need another; the Empire Magnum is the go-to alternative for those who want a heavier fence.
As an Amazon Associate, we earn from qualifying purchases.
A speed square is one of the most essential layout tools in any framing, roofing, or carpentry kit. Despite the name, it is not used to measure speed – it is called a “speed” square because it is the fastest way to mark a square cut line across a board, check a stud for plumb, or set a saw to a specific angle. Once you understand how to read one, you will wonder how you ever framed without it.
What Is a Speed Square?
A speed square (also called a rafter square or triangle square) is a triangular layout tool made from aluminum or steel. It has a 90-degree corner, a 45-degree corner, and a pivot point at the right-angle apex that sits against the edge of a board. The hypotenuse of the triangle is printed with degree markings for cutting common rafters, hip/valley rafters, and other angled cuts.
Key Features to Look For
Size
The most common size is 7 inches, which covers most framing and carpentry work. A 12-inch speed square handles wider stock and is useful for layout on engineered lumber and larger timbers. Buy the 7-inch first.
Material
Cast aluminum is standard and sufficient for most work – lightweight and rust-proof. Magnesium alloy tools are even lighter. Steel squares are heavier but more durable against drops and impacts.
Degree Markings
The hypotenuse should be clearly marked in degrees from 0 to 90 (for the common side) and with common, hip/valley, and jack rafter markings on the body. Engraved and painted markings last; printed-only markings fade.
Fence Depth
The lip or fence on one edge of the square hooks over the board for consistent positioning. A deeper fence provides more stable contact. Thin fences rock on rough lumber.
Scribe Notches
Small notches at specific intervals on some speed squares let you quickly mark parallel lines at set distances – useful for marking rafter tails, birdsmouths, and other recurring layout marks.
Our Top Picks
1. Swanson Tool S0101 7-Inch Speed Square
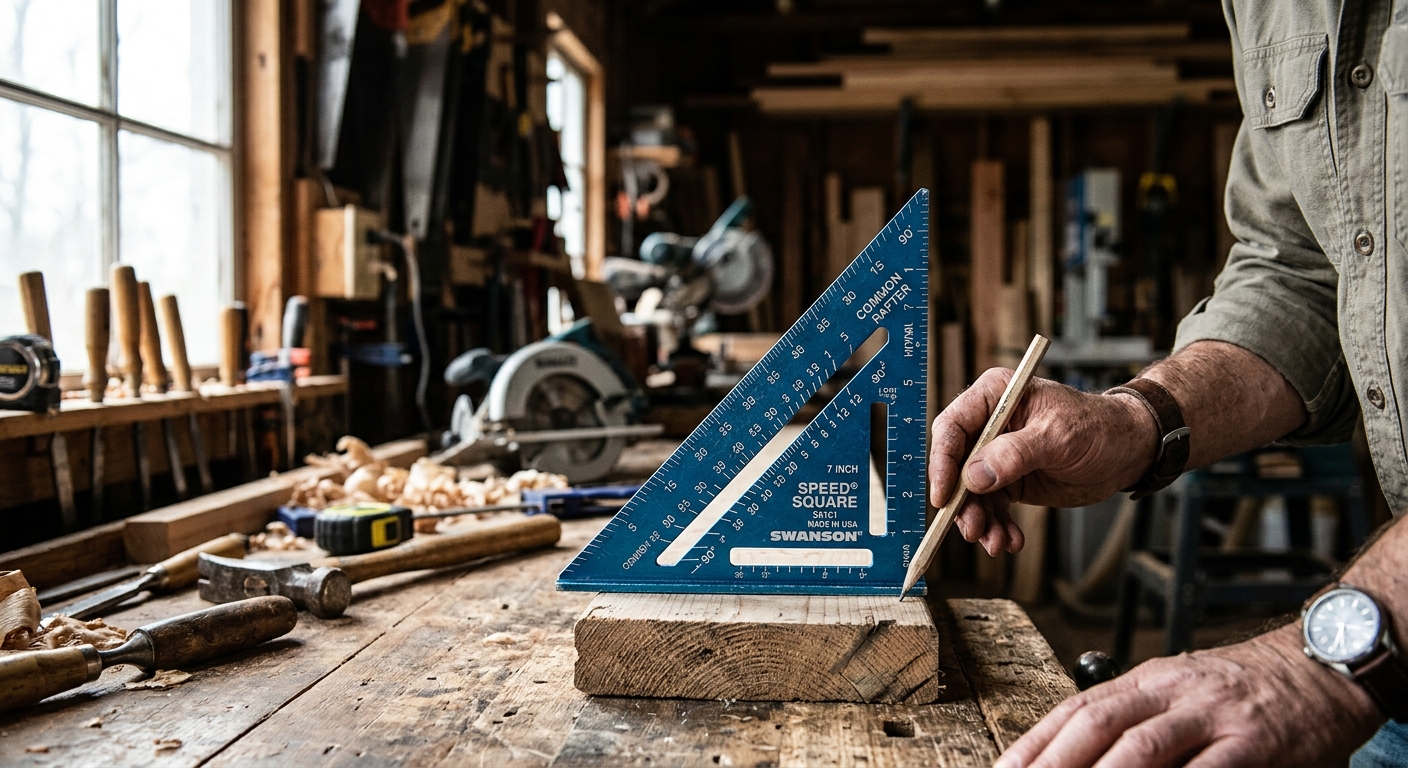
The original speed square design, made in the USA, and still the best. Swanson invented this tool in 1925, and the S0101 is used by more professional framers than any other model. The casting is solid, the degree markings are deeply engraved and filled, and it ships with a comprehensive rafter book. The standard against which all others are judged.
2. Empire 2995 7-Inch Magnum Speed Square
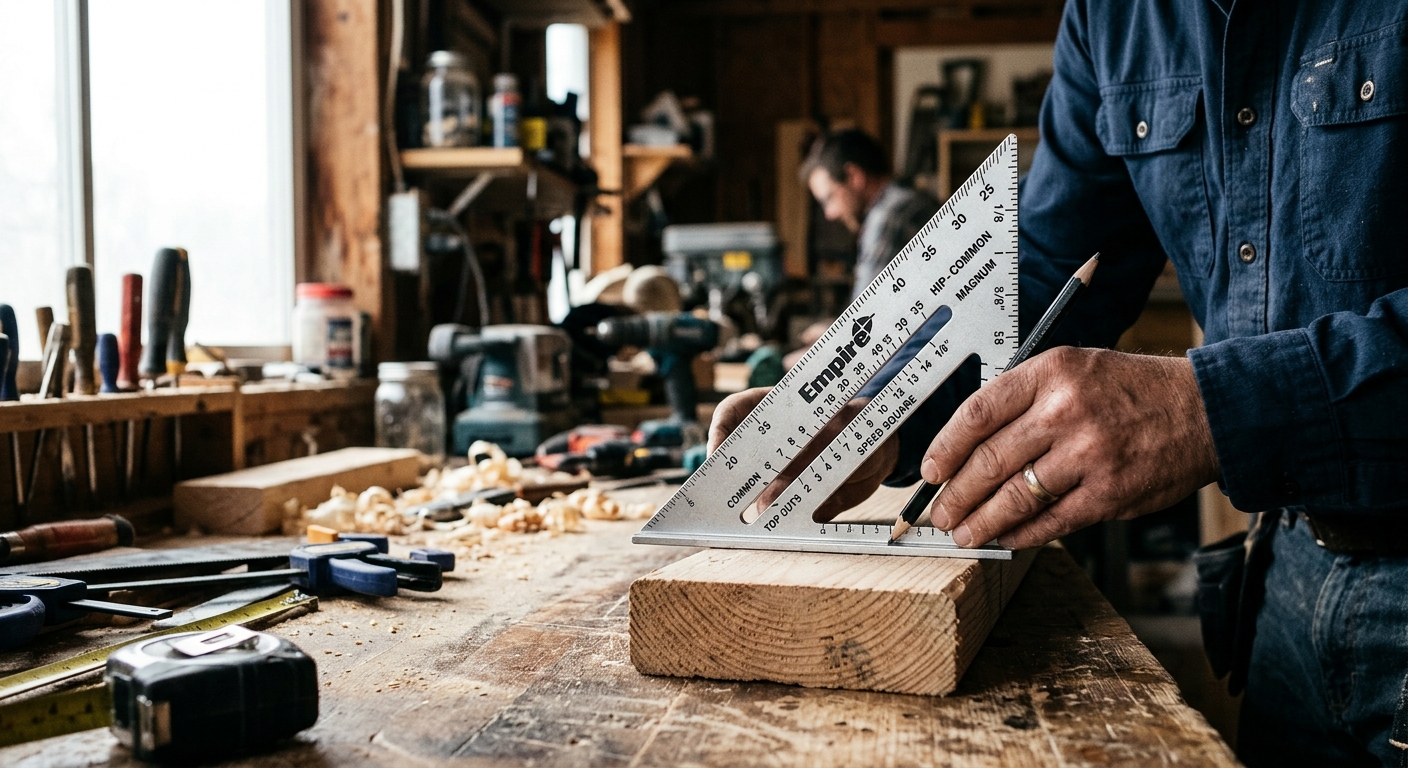
Slightly larger fence for better contact on rough lumber and very clear degree markings. The Empire Magnum is a popular professional alternative to the Swanson, with a slightly beefier feel that some tradespeople prefer.
3. DeWalt DWHT46031 7-Inch Aluminum Speed Square
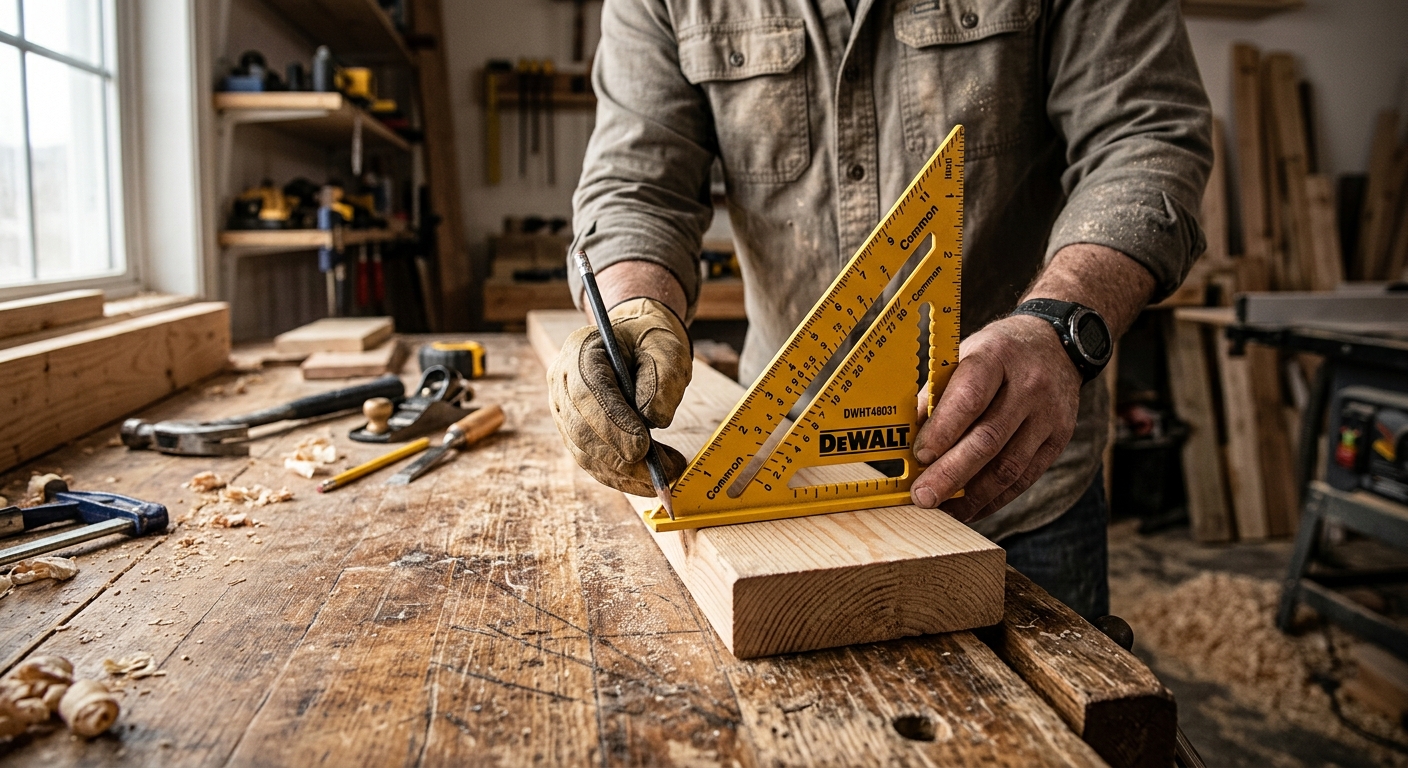
DeWalt entry into the category with a durable cast aluminum body and easy-to-read degree markings. Excellent build quality for a brand-name tool that most contractors already trust. A great choice if you are buying from the same brand as your other tools.
4. Swanson T0111 12-Inch Speed Square
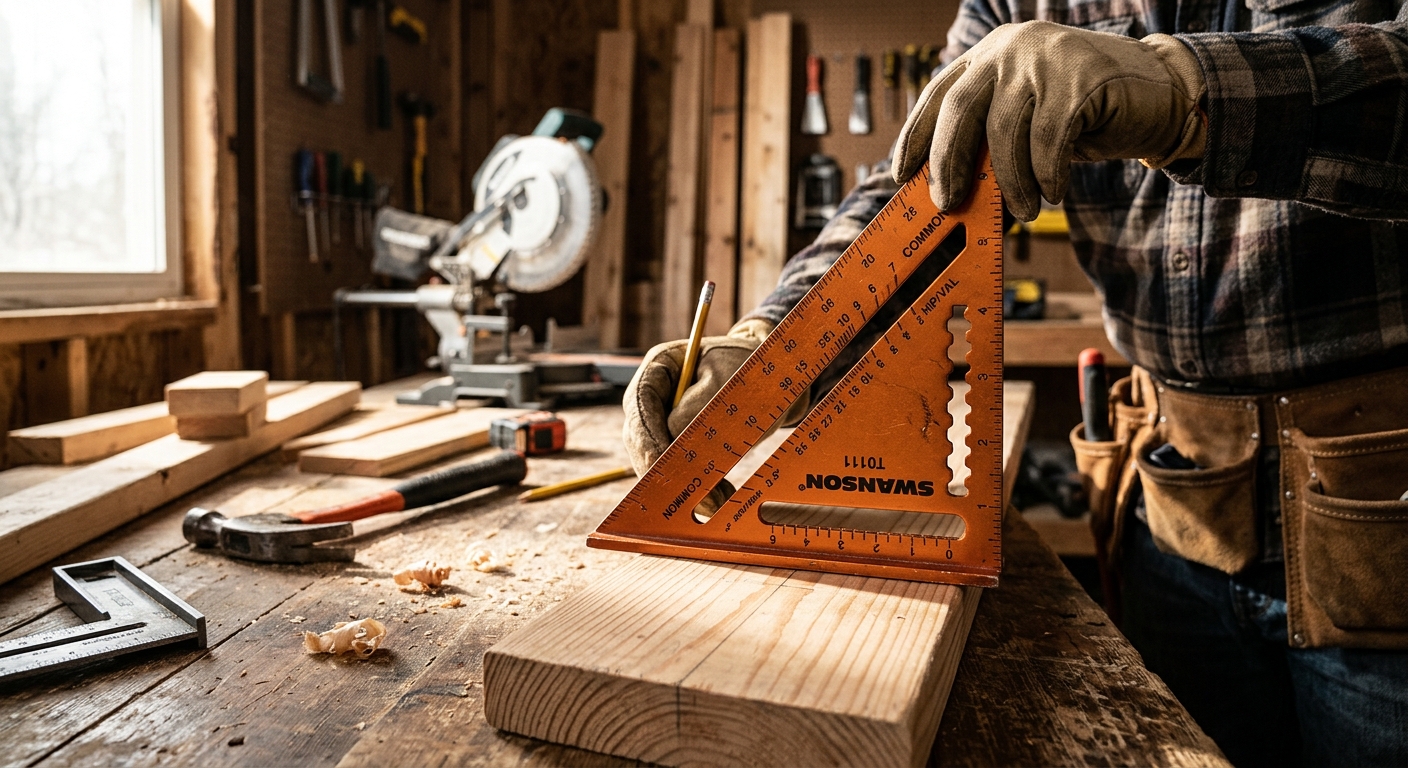
The bigger sibling of the S0101, designed for larger dimensional lumber and timber framing. Covers a full 12 inches and includes all the same rafter calculations at a larger scale. The choice for timber framers and contractors working with engineered lumber.
5. Johnson Level 407 7-Inch Aluminum Speed Square
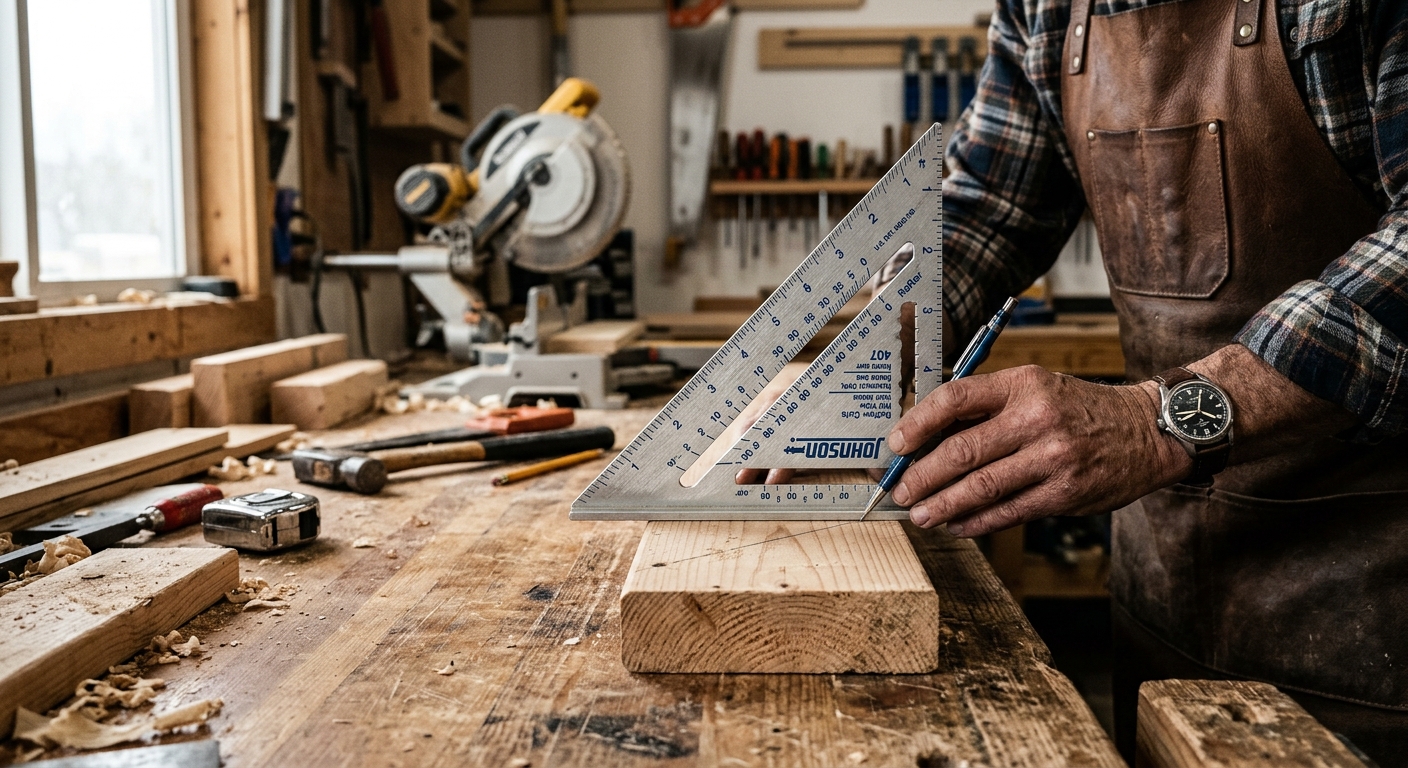
A budget-friendly option that delivers accurate, clearly marked degree readings at a lower price point. Slightly thinner casting than the Swanson but sufficient for occasional use. A fine choice for homeowners who frame occasionally.
How to Use a Speed Square
- Hook the fence (the thick lip) over the edge of your board.
- Rotate the square until the degree mark you need aligns with the board edge.
- Draw a line along the hypotenuse of the square – that is your cut line.
- For 90-degree cuts, simply use the right-angle edge against the board edge.
What to Avoid
- Plastic speed squares: They flex and the fences crack. Aluminum only.
- Squares with faded or unclear markings: If you cannot read the degrees easily in the field, you will make errors.
- No scribe notches: Minor limitation but something to look for if you do roofing work.
FAQ
Can a speed square replace a combination square?
Not entirely. A combination square slides along the blade for depth marking and has a 45-degree face for miter layout. Speed squares are better for marking cut lines on framing lumber quickly; combination squares excel at fine woodworking layout.
What are the degree markings for?
The degrees on the hypotenuse correspond to rafter pitch angles. A 4/12 roof pitch corresponds to a specific degree setting; you use the square to mark the cut angle on the rafter without calculating it mathematically.
Do I need both a 7-inch and 12-inch speed square?
For most DIYers, a 7-inch covers everything. Add the 12-inch only if you regularly work with lumber wider than 7 inches or do timber framing.
Affiliate Disclosure: DIY Arsenal participates in the Amazon Associates Program and other affiliate programs. When you purchase through links on this site, we may earn a small commission at no additional cost to you. We only recommend products we have personally tested and genuinely believe in.