Best Garbage Disposal Wrenches and Installation Kits
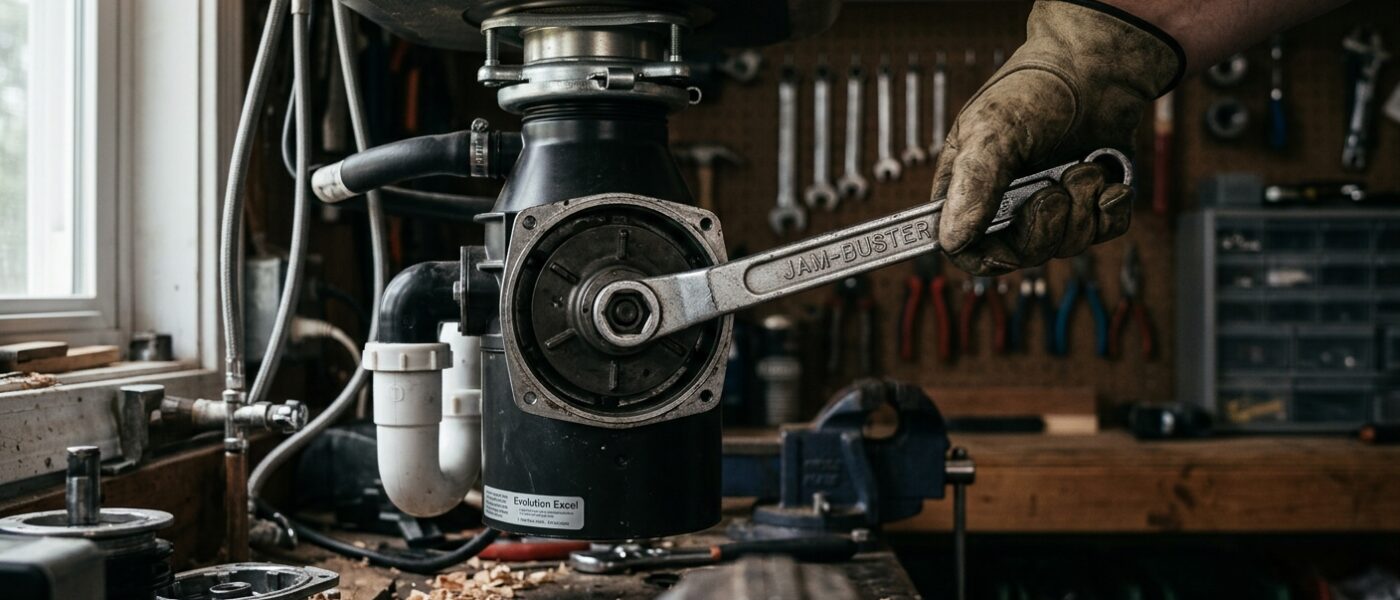
The InSinkErator jam wrench and a comprehensive drain kit handle 90% of disposal installation and service needs. Always use a voltage tester before any wiring work.
As an Amazon Associate, we earn from qualifying purchases.
Installing or Servicing a Garbage Disposal the Right Way
Garbage disposal installation looks complicated but is one of the more accessible DIY plumbing and electrical projects for a prepared homeowner. The plumbing side involves a basket strainer mount, discharge tube, and P-trap connection. The electrical side is a simple hardwired or plug-in connection. The tricky parts are rotating the mounting ring (which requires the right wrench) and clearing jams without damaging the grind plate. The right tools make both tasks straightforward.
Key Features to Look For
- Jam-clearing hex wrench size: Most disposals (InSinkErator, Moen, Waste King) use a 1/4″ hex (Allen) key at the bottom of the unit to manually rotate the grind plate and clear jams. Some older units use 3/16″. A quality disposal wrench kit includes both. The InSinkErator brand includes a wrench – keep it near the disposal.
- Mounting ring tool: Rotating the InSinkErator-style bayonet mounting ring under the sink requires a disposal wrench (a looped hex bar) or a flat bar – not a standard wrench. Kits that include this tool simplify initial installation and future removal significantly.
- Sink flange puller: If you’re replacing an old disposal, the flange may be stuck with hardened putty or corrosion. A flange puller or heavy-duty suction cup prevents you from having to crawl under and push while fighting the mounting ring.
- Discharge tube compatibility: Most replacement disposal kits include a 1-1/2″ discharge tube and elbow. If your drain configuration requires a 5/8″ dishwasher inlet knockout removal, a nail and hammer work – but needle-nose pliers to retrieve the knockout are essential.
- Electrical kit components: Plug-in installations need only an outlet – hardwired installations require a wire nut set and proper box connection. Include a non-contact voltage tester in your kit before touching any wiring.
Top Picks
InSinkErator JAM-BUSTER Wrench
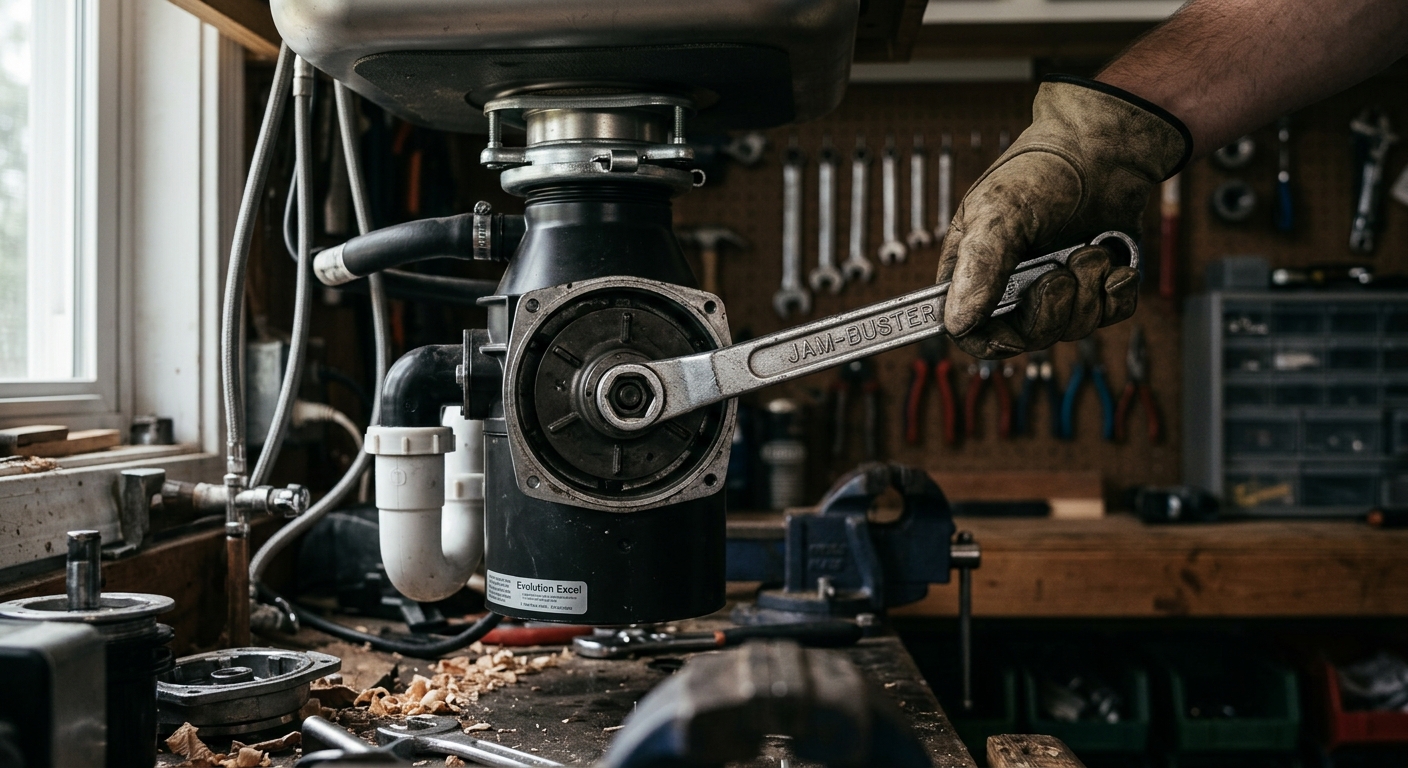
InSinkErator’s own 1/4″ hex wrench, designed specifically for use at the bottom center port of their disposals. The looped handle provides the leverage to break a jammed grind plate loose without risk of stripping the port. This is the identical wrench included with new InSinkErator units – if yours is lost, this is the exact replacement. Works on Badger, Evolution, and Compact series.
Eastman 37366 Garbage Disposal Installation Kit
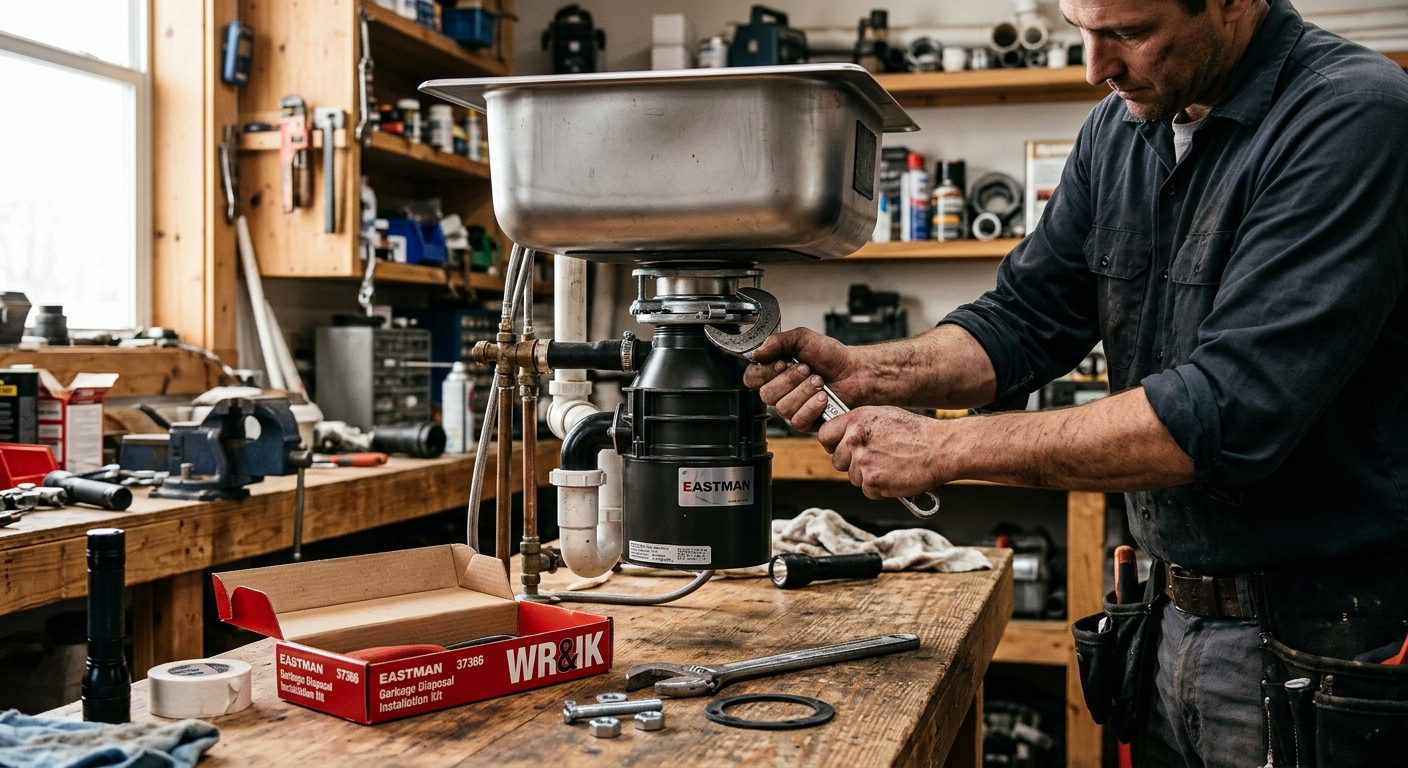
A comprehensive installation kit covering the plumbing side – includes a 1-1/2″ discharge tube assembly, P-trap, and mounting hardware compatible with most disposal brands. The PVC components are durable and the included compression fittings make final drain connection straightforward. If you’re doing a complete replacement including the P-trap, this kit covers the plumbing in one purchase.
Moen Disposal Wrench and Hex Tool Combo
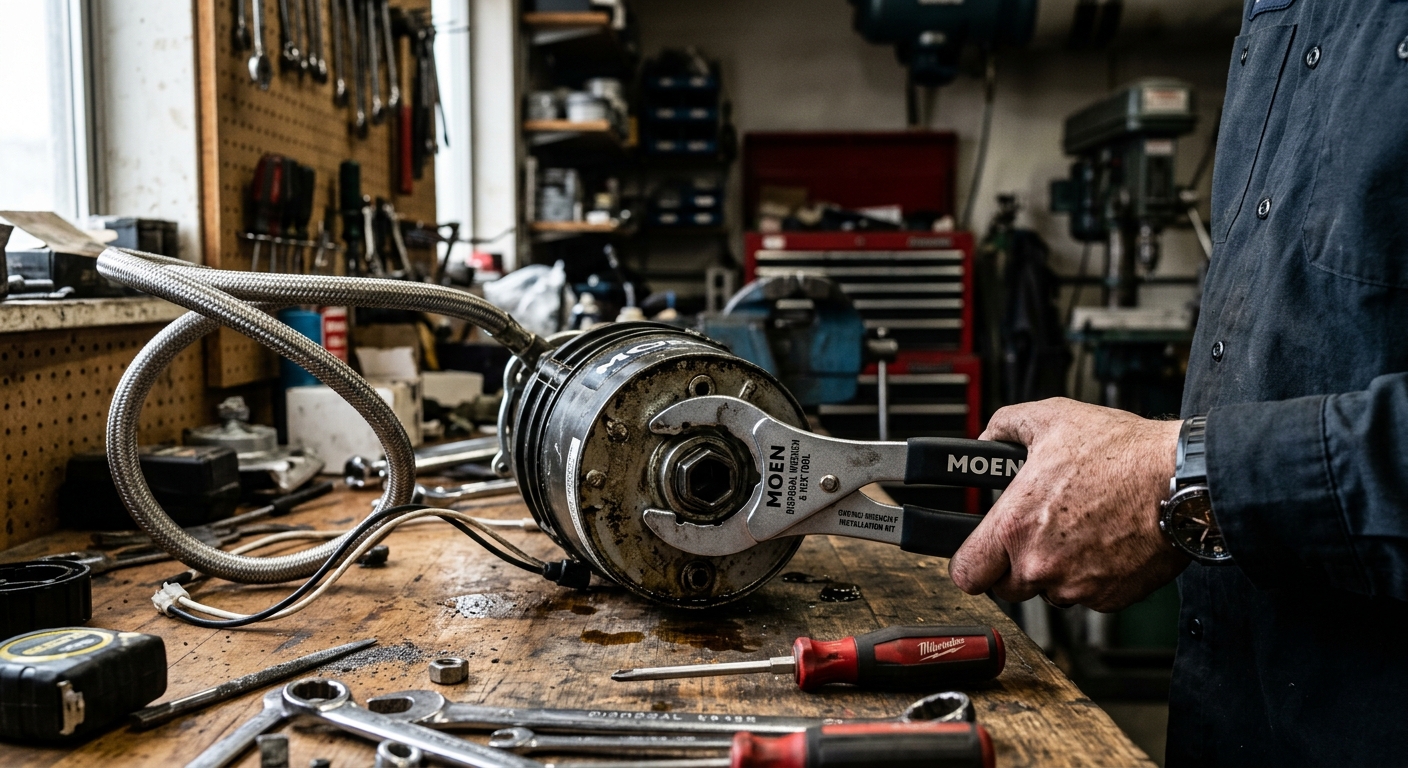
A dual-purpose tool that serves as both the mounting ring rotation wrench and the jam-clearing hex key. The longer handle gives better leverage under the sink where working room is limited. Moen-branded but compatible with most bayonet-mount disposals from other brands as well. Worth owning if your disposal bay is tight and standard L-shaped Allen keys are awkward to use.
Klein Tools 70140 Installation Kit with Non-Contact Tester
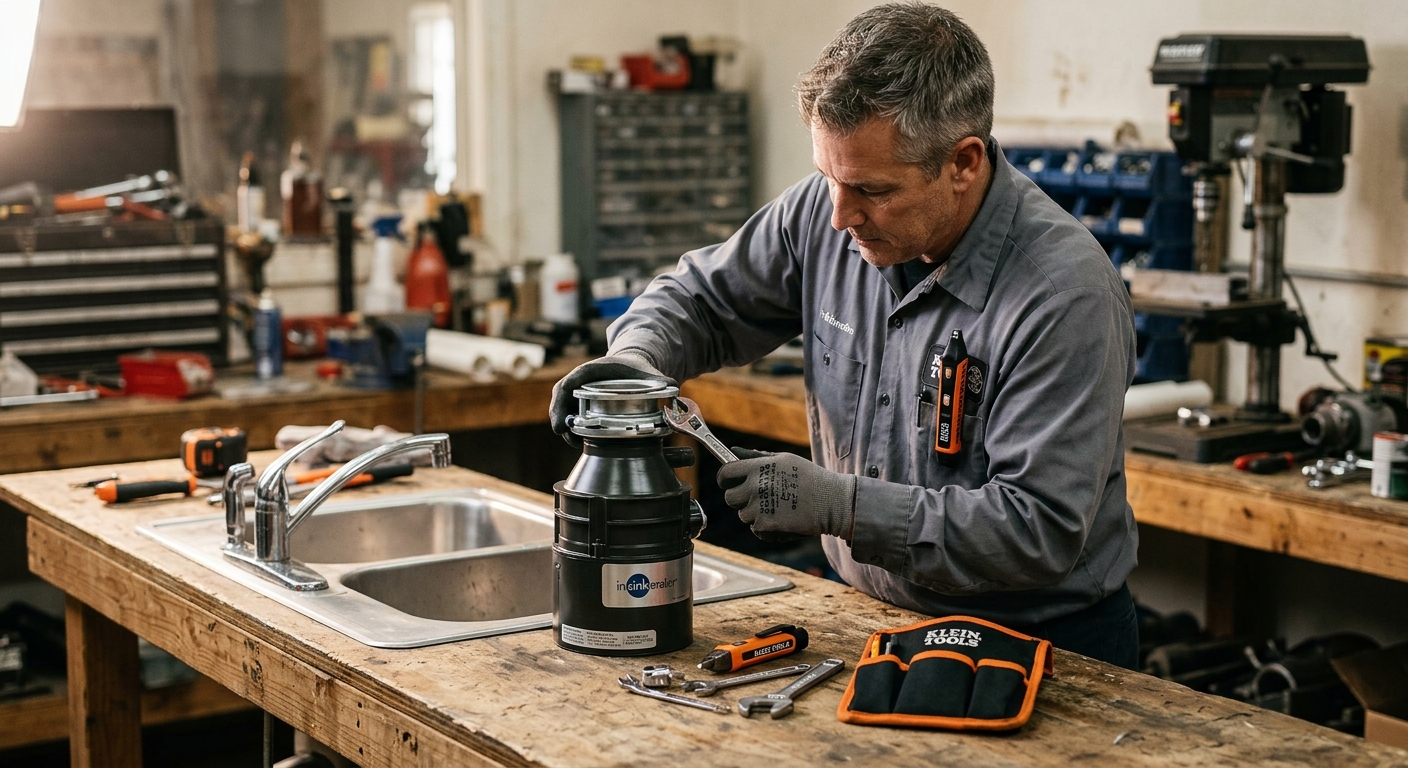
For the electrical side of disposal installation, Klein’s kit includes a non-contact voltage tester (essential before wiring), wire nuts, and cable clamps appropriate for 12/2 and 14/2 wire disposal connections. The voltage tester alone is worth the kit price – never work on disposal wiring without confirming the circuit is dead. A basic kit that every homeowner doing their first hardwired disposal should have.
Frequently Asked Questions
My disposal hums but won’t grind – what is that?
The motor is running but the grind plate is jammed. Turn off the disposal immediately (leave it running with a jam causes motor overheating and burnout). Insert the 1/4″ hex wrench in the bottom center port and rotate back and forth to free the obstruction. Press the reset button on the bottom of the unit after clearing, then restore power.
Can I install a garbage disposal myself if I have a plug-in outlet under the sink?
Yes – plug-in disposal installation is classified as an appliance installation, not electrical work, in most jurisdictions. Connect the drain plumbing, mount the disposal on the sink flange, plug into the switched outlet, and you’re done. Hardwired installation technically requires an electrical permit in many municipalities – check your local code before proceeding.
How long do garbage disposals typically last?
Eight to twelve years with reasonable use and maintenance. Signs of end-of-life include persistent leaks from the bottom (seal failure), loud grinding or metal-on-metal noise (bearing failure), and repeated motor tripping. Repairing an old disposal rarely makes financial sense – replacement units start under $100 and install in under an hour with the right tools.
Affiliate Disclosure: DIY Arsenal participates in the Amazon Associates Program and other affiliate programs. When you purchase through links on this site, we may earn a small commission at no additional cost to you. We only recommend products we have personally tested and genuinely believe in.